Tuesday, March 20, 2018

Mini Mixed Media Layout Album

Hello Crafty people,

I had been working on a Project for quite a while now. As you all know I love mixed media and scrapbooking. So I decided to combine them both and make something unique. Finally, I came up with a beautiful Mini Mixed Media Layout Album. I was inspired by Ola Khomenok, who is a designer for 7 dots studio. I love her work and this Album is dedicated to her. 
So lets dig in!


The album is made with Dress my Craft's Teenie Weenie paper pack and is 6x6 inch in size. The cover of the album is designed using a lot of mixed media techniques and so are the inside pages. The album is of 4 pages and can hold 8 pics, one pic per page layout. 

Each page was first given a wash of gesso and then I added a lot of textures to the page by stenciling, heat embossing, stamping and layering underneath the photo mats. And finally to bring the whole layout on the page together I used lots of mulberry flowers, buds, pollens and chipboards to embellish. 


Hope you liked the album and the effort taken to put it together. 
More projects coming up soon, stay tuned!

Until next time
XOXO
JK

Monday, March 5, 2018

Mixed Media Canvas - Spring Time

Hola crafty people,

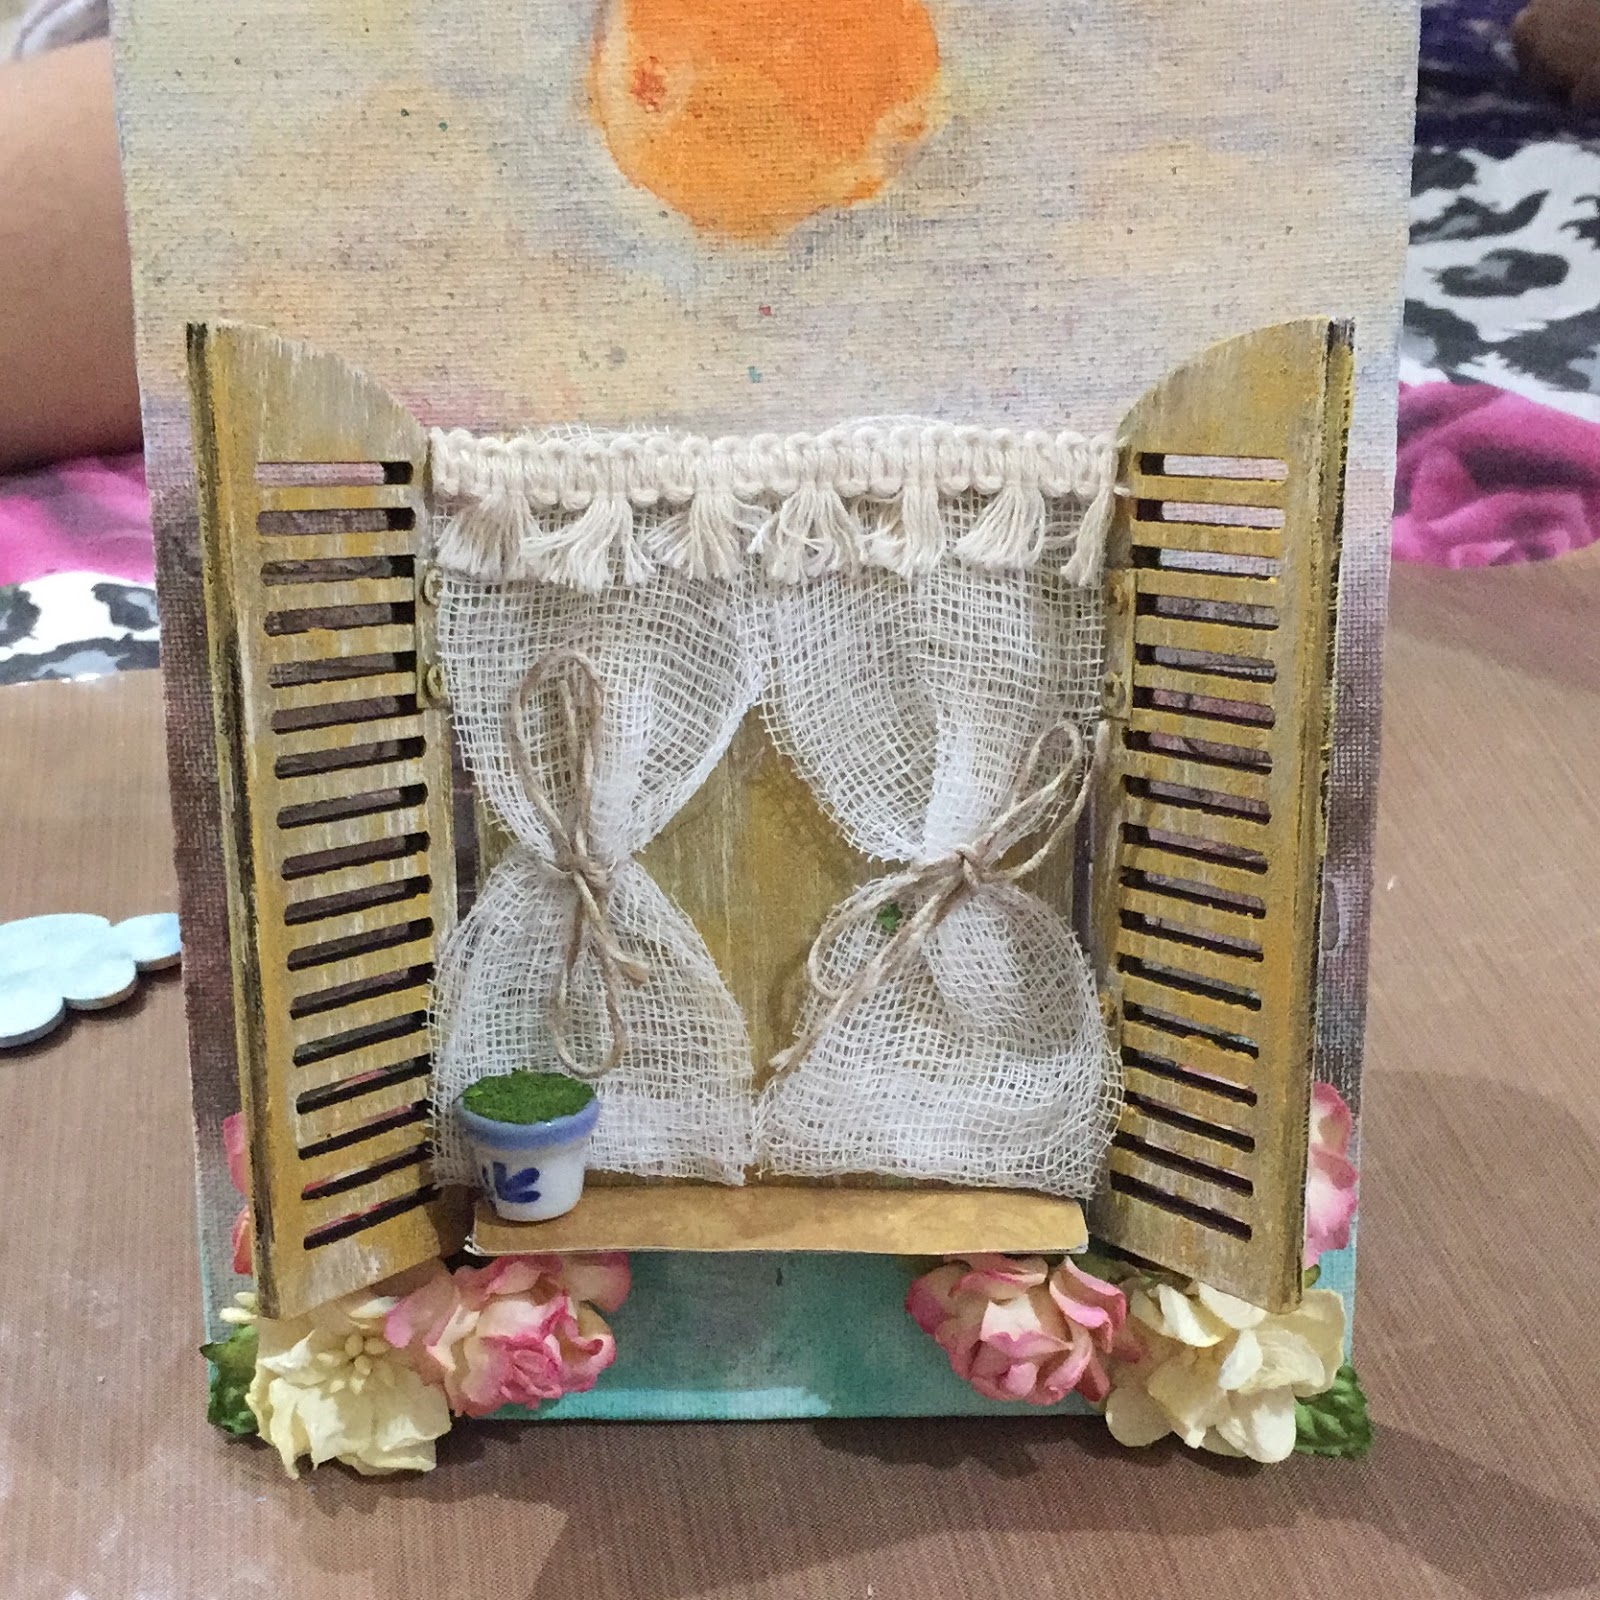
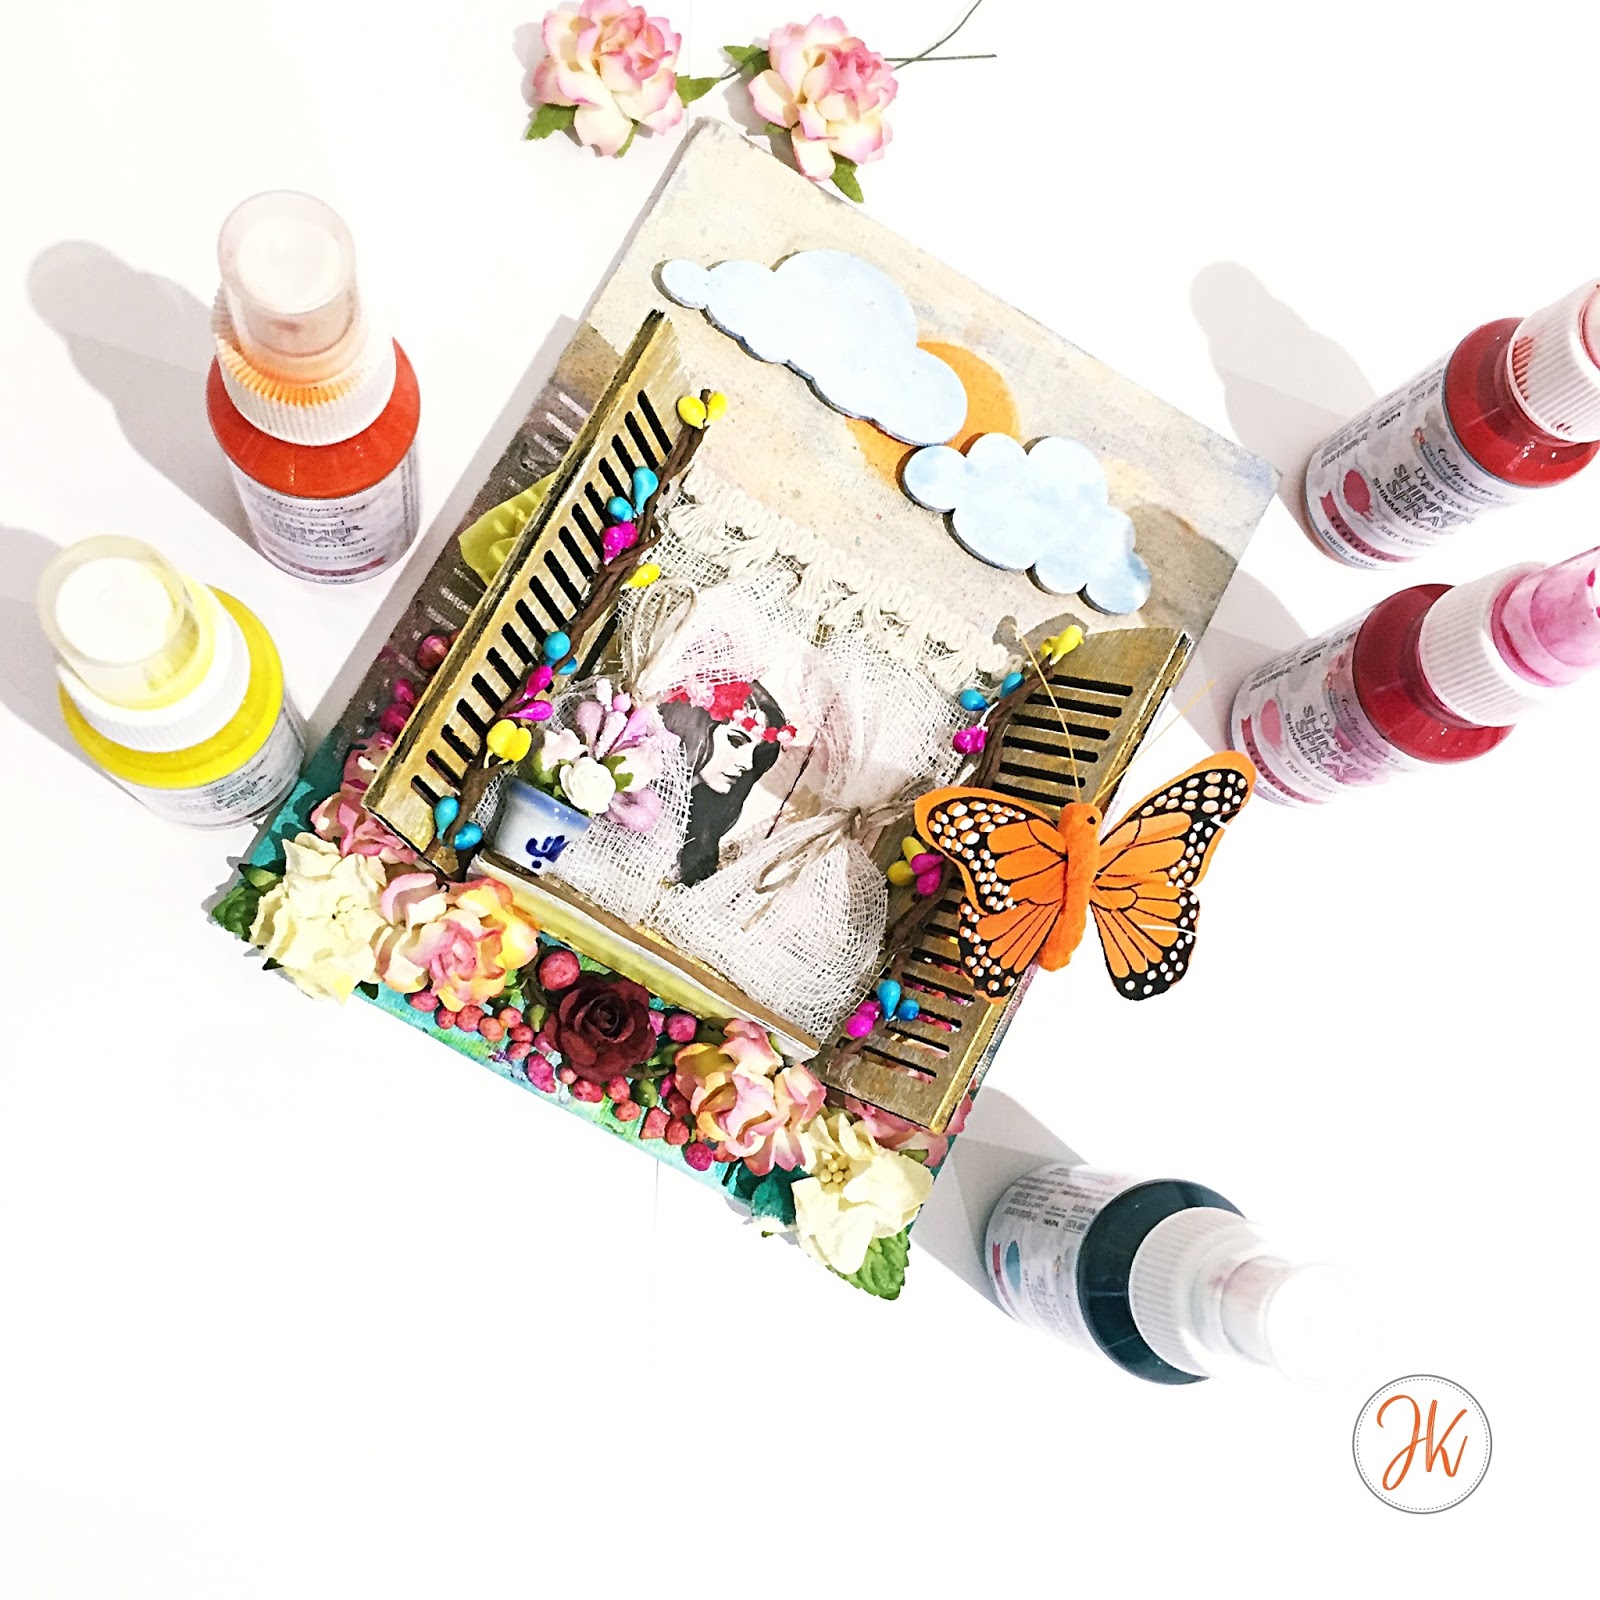
I am back with another mixed media project. I have created a mixed media canvas based on spring time with lots and lots of colors, hence the name 'festival of colors'. So let's get started!


  • I used a 8'x6' canvas for this project. 
  • I prepped it with white heavy gesso 
  • I then used 'Sweet Pumpkin and 'Sweet Sunshine' shimmer sprays from craftyscrappers to create a sunny sky. (find my review on shimmer sprays here)
  • I sprayed a bit of both the colors on my craft mat mixed them together and created the sun with a paint brush. 
  • I added a tint of blue to the sky as well. 
  • I used cloud chipboard cutouts, painted them blue and heat embossed them

  • Next I created a brick wall using a stencil and texture paste
  • I again used shimmer sprays in colors tickled cheeks and juicy water melon along with some black acrylic color to give the wall a rustic look
  • To make the grassy effect I used shimmer spray in the color dancing peacock 
  • I used a golden acrylic color to give my window an aged rustic effect. 
  • To create the curtains I used bandage, a frilly lace trim and some brown twine. 
  • I added a small chipboard rectangle piece (with pattern paper) to add a 3D look to the project and add my miniature pot.

  •  I then assembled everything by adding lots of colorful flowers and pollen sticks
  • To add more dimensions I added some art stones. 
  • To color the art stones I used shimmer spray in the color tickled cheeks and sweet sunshine
  • Finally I completed the project by adding a beautiful butterfly and a lady behind the curtains
Here is the project at a glance - 


I hope you liked this project as much as I loved making it. 
Until Next Time

XOXO
JK


Tuesday, February 20, 2018

Shimmer Spray by CraftyScrapper - Review

Hello crafty people, 

Today's post is about the new product I got my hands on recently. Before I get into details about the product I want you all to know that this is in no manner a paid promotion of the product. This review contains my (and only mine) thoughts about the products from the brand CraftyScrappers.

So let's dig in!

I had been wanting to try spray paints from a very long time, but due to budget constraints I haven't been able to buy them. So after a lot of research I came across 'Shimmer Spray' by CraftyScrappers. 

These sprays are dye based,  acid-free, non-toxic concentrated colorant for porous surfaces. The biggest reason for me to choose these spray paints was the pricing. They are the most inexpensive spray's in Indian market. They are priced at INR 150 each. I bought them during a discount period and got them at INR 100 each. 
These spray paints have a beautiful shimmer in them which adds the touch of beauty to your craft projects. 
Look at the beautiful shimmer in the colors! it is subtle and adds so much dimension to the project at the same time. 

These are water-based sprays. They come in 16 beautiful colors. 
I had a chance to get my hands on 6 of these pretty colors. Here's are the swatches -


The colors are very well pigmented and can be used alone and with water. These sprays are bright and vibrant. They can colorize canvas, wood, paper, clay and more. These can be used to create backgrounds on cards, scrapbooks, journal pages, and in mixed media art  as well as home decor projects. The possibilities with them are endless! 


The only thing I think can be worked upon by the company are the spray nozzles that come along with the paint bottles. They aren't well fitted on each bottle and hence a lot of leakage happen at times.

My verdict - 4.5/5
I am absolutely in love with these spray's and will definitely buy the rest of them soon. 

Hope you liked the detailed review of this product. Leave a comment below if you would like me to review any other product for you. 

Until next time

XOXO 
JK

Tuesday, February 6, 2018

Love Is Everywhere - Album

Hello beautiful crafty people,

Since love is in the air and valentine's day around the corner, I have for you today a beautiful interactive album. The album is made with beautiful 'Love is everywhere' and 'Bohemian Dreams' pattern paper from The Elements Craft Studio. 

The pattern paper is so beautiful that you wont need much to embellish your pages. I tried to keep pages simple yet interactive with folds and and pockets. I used very thin trims here and there on the pockets to embellish. 

The thing that stand out in this album for me is a page with twist and pop card type. It was fun to make and even more fun to use. 

I created the cover of the album with a cute little shaker embellishment. So without further ado, Lets get into the album. 


Here's a peek inside the album. 


Hope you all enjoyed this project as much as I enjoyed making it. 
Until next time,

XOXO
JK

Tuesday, January 30, 2018

Mixed Media Dream Catcher

Hello crafty people,

Since we are going to enter in the month of love soon, here a beautiful mixed media project to inspire you all. This project is one of a kind and can be customized with endless possibilities. So lets dive right into it.

First of it's important to get a thick hard board for the background support. I have used a heavy chipboard. Cut the chipboard half an inch smaller than the big hoop. Cover both the hoop and the chipboard with black gesso.


Choose the paper of your choice for background. Apply a good coat of either matt mod podge or clear gesso. Then use any of your favourite stencil to add some texture on the pattern paper. 


Next up, is adding some colors. I used impasto colors completely diluted to get the blue tone going with a pink undertone. Make sure you dab off the extra watery color off. 

Now its time to embellish the beautiful frame. I chose postcard size for my photo and created multiple layers of pattern paper to create the photo mat. With the help of some die cut alphabets i created a small banner on top spelling the word 'LOVE'.


I added some flowers going with my color palette. A couple of feathers here and there, some art stones and some clear water droplets.


Next I adhered the pattern paper to the chipboard and chipboard the back of the inner hoop.
Finally i added some beautiful laces, trims and chipboard feathers to the bigger hoop and attached both the hoops.


I applied black gesso to the feather chipboards and dry brush painted them with impasto colors. I also used some metallique wax from Prima in color rose gold on the feathers, otter of the hoops and on pattern paper to make some shadowy effect. 


Hope you all liked this mixed media dream catcher and are inspired to make your own version too. 
Do share your version with me. Leave a link to your project in the comment section below. 
Until next time

XOXO
JK