Hola crafty peeps,
I am here with an altered frame with a twist. The twist is that I have used MDF window shutters to create a picture space on the frame itself.


I am here with an altered frame with a twist. The twist is that I have used MDF window shutters to create a picture space on the frame itself.

I have used the newly launched metallics form Expressions Craft Studio. The quality of these paints is just amazing. I loved the fluffy consistency of these colors and the sheen they have is brilliant. They work well on both black and white gesso without loosing the color and sheen. A total of 26 shades have been launched which you can buy from the website here.
I can go on and on about these beautiful colors but for now let's dig in to the project tutorial.
Step 1 - I covered my window and the frame with IMMIX heavy white gesso.

Step 2 - Using IMMIX texture paste and the newly launched brick stencil add the design around the frame.

Step 3 - Add some IMMIX crackle texture paste here and there and sprinkle some sprinkle glitz over it for some grungy texture.

Step 4 - Adhere all the required chipboards and cover them with white gesso. Also adhere the window shutters in its place.

Step 5 - I used the new launched chalk paint color red cherry wood and covered the brick area as far as possible.

Step 6 - I highlighted the bricks pattern using the new chalk paint color Military brown

Step 7 - Using the newly launched metallics in the color jungle green I covered all the chipboard branches

Step 8 - Finally add all the flowers around the shutters along with deco art atones. I also in the end used metallic colors mari gold and bronze moon to highlight the window and brick wall texture.

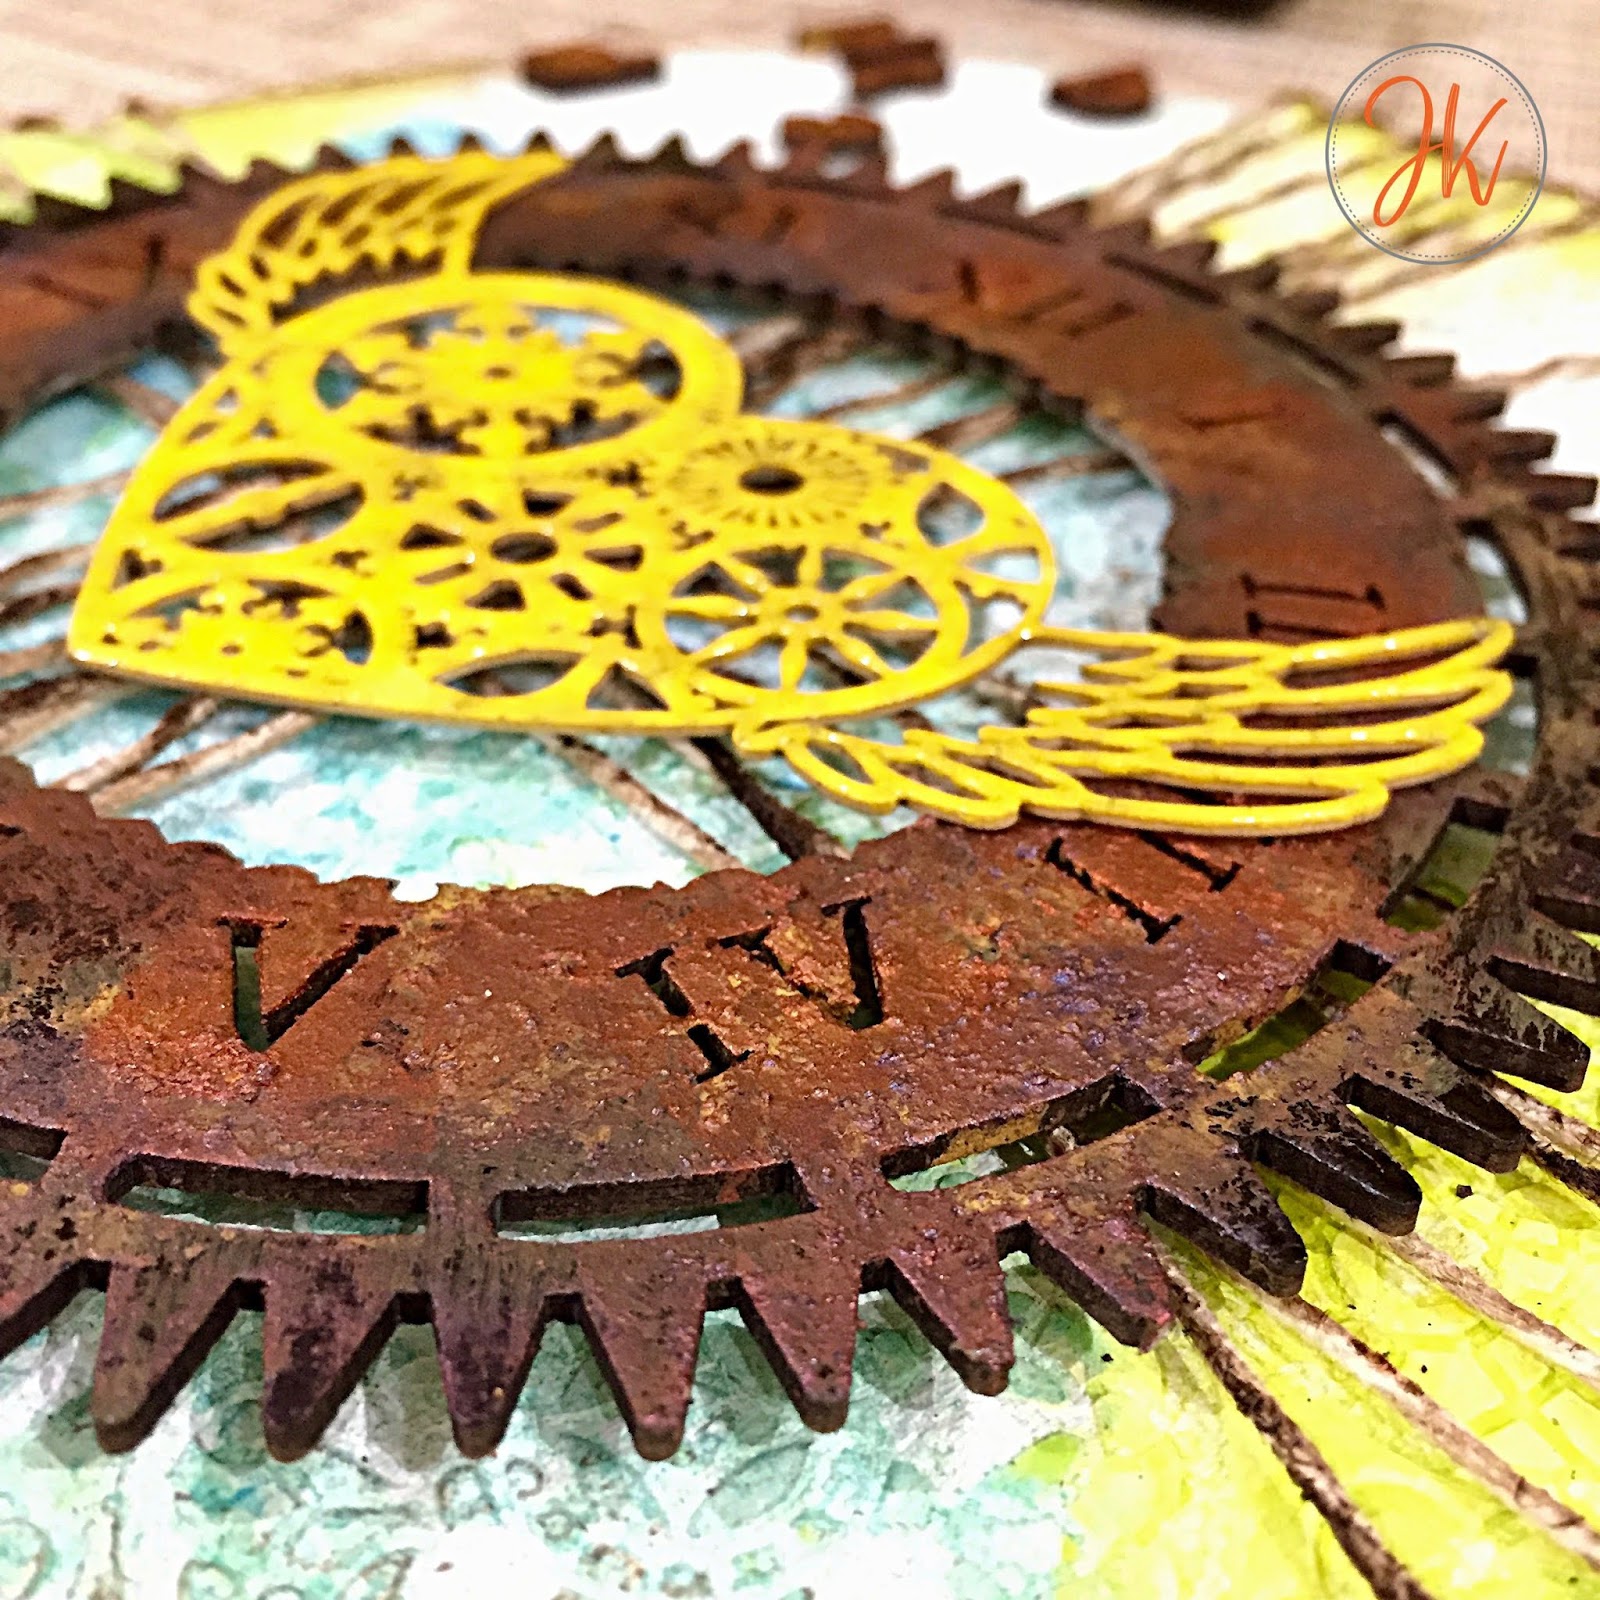
Here are some detailed pics -


I hope you liked this mixed media project using the newly launched products from expressions craft. Do tag me in your projects inspired from this one.
Until next time
XOXO
JK