Saturday, September 15, 2018

Inspired by Art – Mixed Media Folder Cover


Hello crafty people,

Today I have a very special project to share with you all. I created a mixed media cover for a 15x12x3” folio folder. I created this folio folder as a box in which I can carry my craft supplies while traveling. I got inspired by all the left over & unused broken colors, brushes and paint tubes and decided to create my cover with them.


This project is very close to me as it truly brings out the art in our craft. So, without further ado lets dig in!
  • I created this on an A3 size white pastel sheet cut down to 15x12”. 
  • I used medical gauge to add my first layer of texture with the help of mod-podge. 
  • Mod-podge helped in securing my paper as I am not working on a watercolor paper.  


  • Next I covered the whole page with a coat of white gesso to be able to work with different colors.


  • I added some more texture using stencils and texture paste here and there. (the color is from my last project which i totally forgot to clean, but no issues it will be covered up later)


  • After drying my texture paste, I adhered all my embellishments with heavy body gel medium. I let it dry over night before adding anymore layers. 


  • Once completely dry, I covered my complete paper with a coat of gesso. 
  • I covered my embellishments with 2 coats of heavy body white gessso. 
  • I adhered my chipboard pieces as well before the coat of gesso with the help of tacky glue. 


  • To add more layer and texture to my project I added some white crackle texture paste on the edges, on the embellishments and near the brick chipboard pieces. It added a beautiful distressed texture to my project. 
  • I then let the texture paste dry naturally to get the desired cracks.


  •  For painting the project, I used impasto paints. I stared with blue tone and mixed a bit of pink here and there. To add highlights i used black spray paint. 
  • I distressed the edges using distress ink with the help of an ink blending tool. 
  • I added some micro and mega art stones on the project to add more texture and a dimensional layer. 
  • I topped my embellishments with metallique waxes to enhance the texture on them. 
  • I also added an angel made from paper clay which I colored with black gesso and highlighted with metallique waxes. 


  • Finally to finish off the complete look I added the chipboard word piece 'Inspire' in a frame. 


 Here are some close ups for you see the beautiful textures and layers on the project. 


I hope this inspires you to use unused materials from your stash and create a piece of art of your own. 

Until next time
XOXO
JK

--

List of Supplies:
  1. Mod-podge matte-matt-matte
  2. Heavy body gesso white - Prima
  3. White crackle texture paste - Prima
  4. Heavy body gel medium - Liquitex
  5. Texture paste opaque matte - Ranger
  6. Net Stencil - Little birdie
  7. Impasto Paints - Crimson, Cobalt & Azure - Prima
  8. Color Splash - charcoal spray paint - Little birdie
  9. Metallique Waxes - Bronze Age & Rose gold - Prima
  10. Bhabby Bricks - Papericious Pattern Chippis
  11. Mudra chipzeb words 1
  12. Mega & mini art stones - Prima


Thursday, August 16, 2018

Floral Fantasy - Mixed Media Layouts

Hola crafters,

I have a very exciting new project for you all today. This is my first time try on with prima papers and I must tell you that I am in absolute love with them. The beautiful designs and the paper quality is just amazing. I worked with their Rose Quartz paper pack. 

Here's presenting a 3 ring layout! Yes I altered 3 embroidery hoops to create this beautiful floral layout. 


You can add 2 pictures in this layout. I have used tons of flowers in this layout. This has been made entirely with paper layering. I haven't used any mediums to add texture to the layouts. 


I used floral designed pattern papers in combination with abstract designs to create a balance. 

Here are the steps to create this beauty:

  1. Apply white gesso on all the three hoops you want to use. I used 10", 8" & 4" hoops here.
  2. Cut pattern paper as per the sizes of the hoops and adhere at the back of the hoops. 
  3. I used 3D matte gel along with the hot glue gun to adhere the hoops together. To bring them to the same height I stacked small chipboard pieces together under the hoops. 
  4. Next I created the layouts inside the two big hoops by stacking scrap pieces of paper some chipboards and doily die cuts. 
  5. To decorate and embellish the hoops i used tons of flowers and green foliage along with a floral chipboards from Mudra and a cute little cupid i made with air dry clay using a mould. 
  6. Finally I topped the hoops with a diamond studded chain to add a little bling and tied a couple of laces on the top of the biggest hoop. 
  7. For the smallest hoop i just fussy cut a sentiment from a notecard I had in my stash and adhered in the centre. 
Let's see the project in close up!


This is my first entry for the Prika monthly Blog Challenge - August-2018: “Anything Goes-Floral”.

Hope you liked this simple yet a very elegant floral layout. Do leave a comment and let me know if you have any query. 


Until next time
XOXO
JK

--

Supply List - 

  1. Rose Quartz paper pad - Prima
  2. Mulberry Flowers - DMC & Little birdie
  3. Foliage - Little Birdie
  4. Mudra chipzeb - Fancy Flourish
  5. Diamond chain - DMC
  6. Crochet Doily Die - Prima 
  7. White Gesso - Prima
  8. Impasto Raspberry Paint - Prima

Wednesday, July 25, 2018

Mini Mixed Media Album 2

Hello there crafty peeps,

My love for mixed media and scrapbooking is never ending. Trying to come up with something new in the same is always a challenge and a pleasure for me. After an overwhelming response to my mixed media layout album, i thought of making another one with a lot more interactive pages instead of the layouts on each page. 
So without further adieu let's get into the album!


The album is of 10 pages (front and back). All the pages have a unique interactive layout, ranging from a seamless waterfall foldout to twist and pop up page, accordion flipper to a natural waterfall page. I tried my hands on something new in this album and thats impasto paints as a texture paste. So instead of using a texture paste or modeling paste, I used direct impasto paints with the help of stencils to create colorful designs on my pages. 

I used a lot many mulberry flowers inside the pages as embellishments. The middle page has been created as a layout page with a fold out photo mat. To make this layout I have used another new technique. As soon as I applied texture paste with stencil I added embossing powder on it and heat set it. It has given me a beautiful embossing effect with a lot of texture. It is a great technique to add a great layer of texture with embossing. You must give it a try!

For the last page I have created an expandable pocket which can hold tons of pics and journaling notes. 

Here's a complete album at a glance, enjoy! 


Until next time
XOXO
JK


Thursday, April 5, 2018

Top 5 Liquid Adhesives

Hello crafty people,

This blog is different than a regular DIY or a product showcase. A lot of you ask me which glue to use while doing different kinds of crafts, which one is available in India and which ones are affordable. There is never a right or wrong answer when it comes to using the liquid adhesives. It really is one's preference. But, to answer all your questions, today on my table are my top 5 picks for liquid adhesives.
Lets get started!

Tacky Glue


This is one of my go to glue when it comes to paper crafting. A quick dry, super strong hold and a fine tip, this glue is one of the best in crafting world. I was introduced to this glue two years back and since then there has been no looking back for me. It is a very versatile glue when it comes to crafting. The best part about it is that it DOES NOT wrinkles the paper at all. Not even one wrinkle and I am not kidding. No matter how thin the paper, it will not wrinkle. So if you are very particular about making your scrapbooks and albums neat just like me this is it for you.
Availability - All leading online craft shops in India
Price - INR 185
Size - 118 ml (4oz)


Fevicol A+ Craft Glue


This is the latest addition to the pedilite family. Launched recently, fevicol A+ craft glue has been specifically designed for crafters and hobbyists. I had a chance to buy it from my local stationary shop and trust you me guys, it is nothing less than the tacky glue. It claims to dry faster and has a super strong hold just like your regular fevicol MR. And yes it is all true. Having used it first hand I can truly say it is becoming my go to glue now. It has a very fine precision tip which is perfect for gluing small objects and pieces of papers. Since the regular fevicol wrinkles the paper I had the fear this might too, but i was proved wrong. No wrinkles, none, nada! So if you are looking for a budget friendly glue which works like a wonder adhesive, this is the one for you.
Availability - All stationary shops in India
Price - INR 20 & INR 50
Size - 30 gm & 85 gm


Art Glitter Designer Glue


If you are a designer who likes to work on small project majorly card making, then this is the glue for you. Precision tip, clear and fast drying glue, it is perfect for time based small scale projects. since the drying time is very less it is great paper flower making as well. I don't use this glue quite often but it is one of the best glue for sticking your papers to your hinges or even binding your albums. The reason I dont use it quiet often is coz one, it is on the expensive end, and two I dont work on small projects like cards much.
Availability - All leading online craft shops in India
Price - INR 390 - 499
Size - 60 ml (2oz)


Glossy Accents


This is not your regular glue. It is an essential product when it comes to sticking your embellishments or enhancing them to a glossy finish. Whether plastic, wood, metal or any other embellishment, this is my go to glue. It does glues together your paper when comes to paper crafting, but since it dries out to a glossy finish I don't really like using it for that purpose. It is perfect to stick together your dimensional embellishments. You can use it as a top coat on your embellishments to give them a glossy dimension.
Availability - All leading online craft shops in India
Price - INR 165 & 340
Size - 18 ml (0.5 oz) & 68 ml (2oz)


Multi Medium Matte/Glossy


This artist quality medium comes in two varieties matte and glossy. It is ideal for gluing, image transfers, sealing art, extending paint, creating glazes and more. One can use it for paper, metal, glass, plastic, fabric, etc. It dries clear and waterproof when dry. So if you are a mixed media artist just like me, then this is a must have adhesive for you. It comes in both a bottle and a jar. 
Availability - All leading online craft shops in India
Price - INR 170
Size - 14 ml (0.5 oz)

I hope this solves and answers a lot of your queries. 

Until next time

XOXO
JK

Tuesday, March 20, 2018

Mini Mixed Media Layout Album

Hello Crafty people,

I had been working on a Project for quite a while now. As you all know I love mixed media and scrapbooking. So I decided to combine them both and make something unique. Finally, I came up with a beautiful Mini Mixed Media Layout Album. I was inspired by Ola Khomenok, who is a designer for 7 dots studio. I love her work and this Album is dedicated to her. 
So lets dig in!


The album is made with Dress my Craft's Teenie Weenie paper pack and is 6x6 inch in size. The cover of the album is designed using a lot of mixed media techniques and so are the inside pages. The album is of 4 pages and can hold 8 pics, one pic per page layout. 

Each page was first given a wash of gesso and then I added a lot of textures to the page by stenciling, heat embossing, stamping and layering underneath the photo mats. And finally to bring the whole layout on the page together I used lots of mulberry flowers, buds, pollens and chipboards to embellish. 


Hope you liked the album and the effort taken to put it together. 
More projects coming up soon, stay tuned!

Until next time
XOXO
JK

Monday, March 5, 2018

Mixed Media Canvas - Spring Time

Hola crafty people,

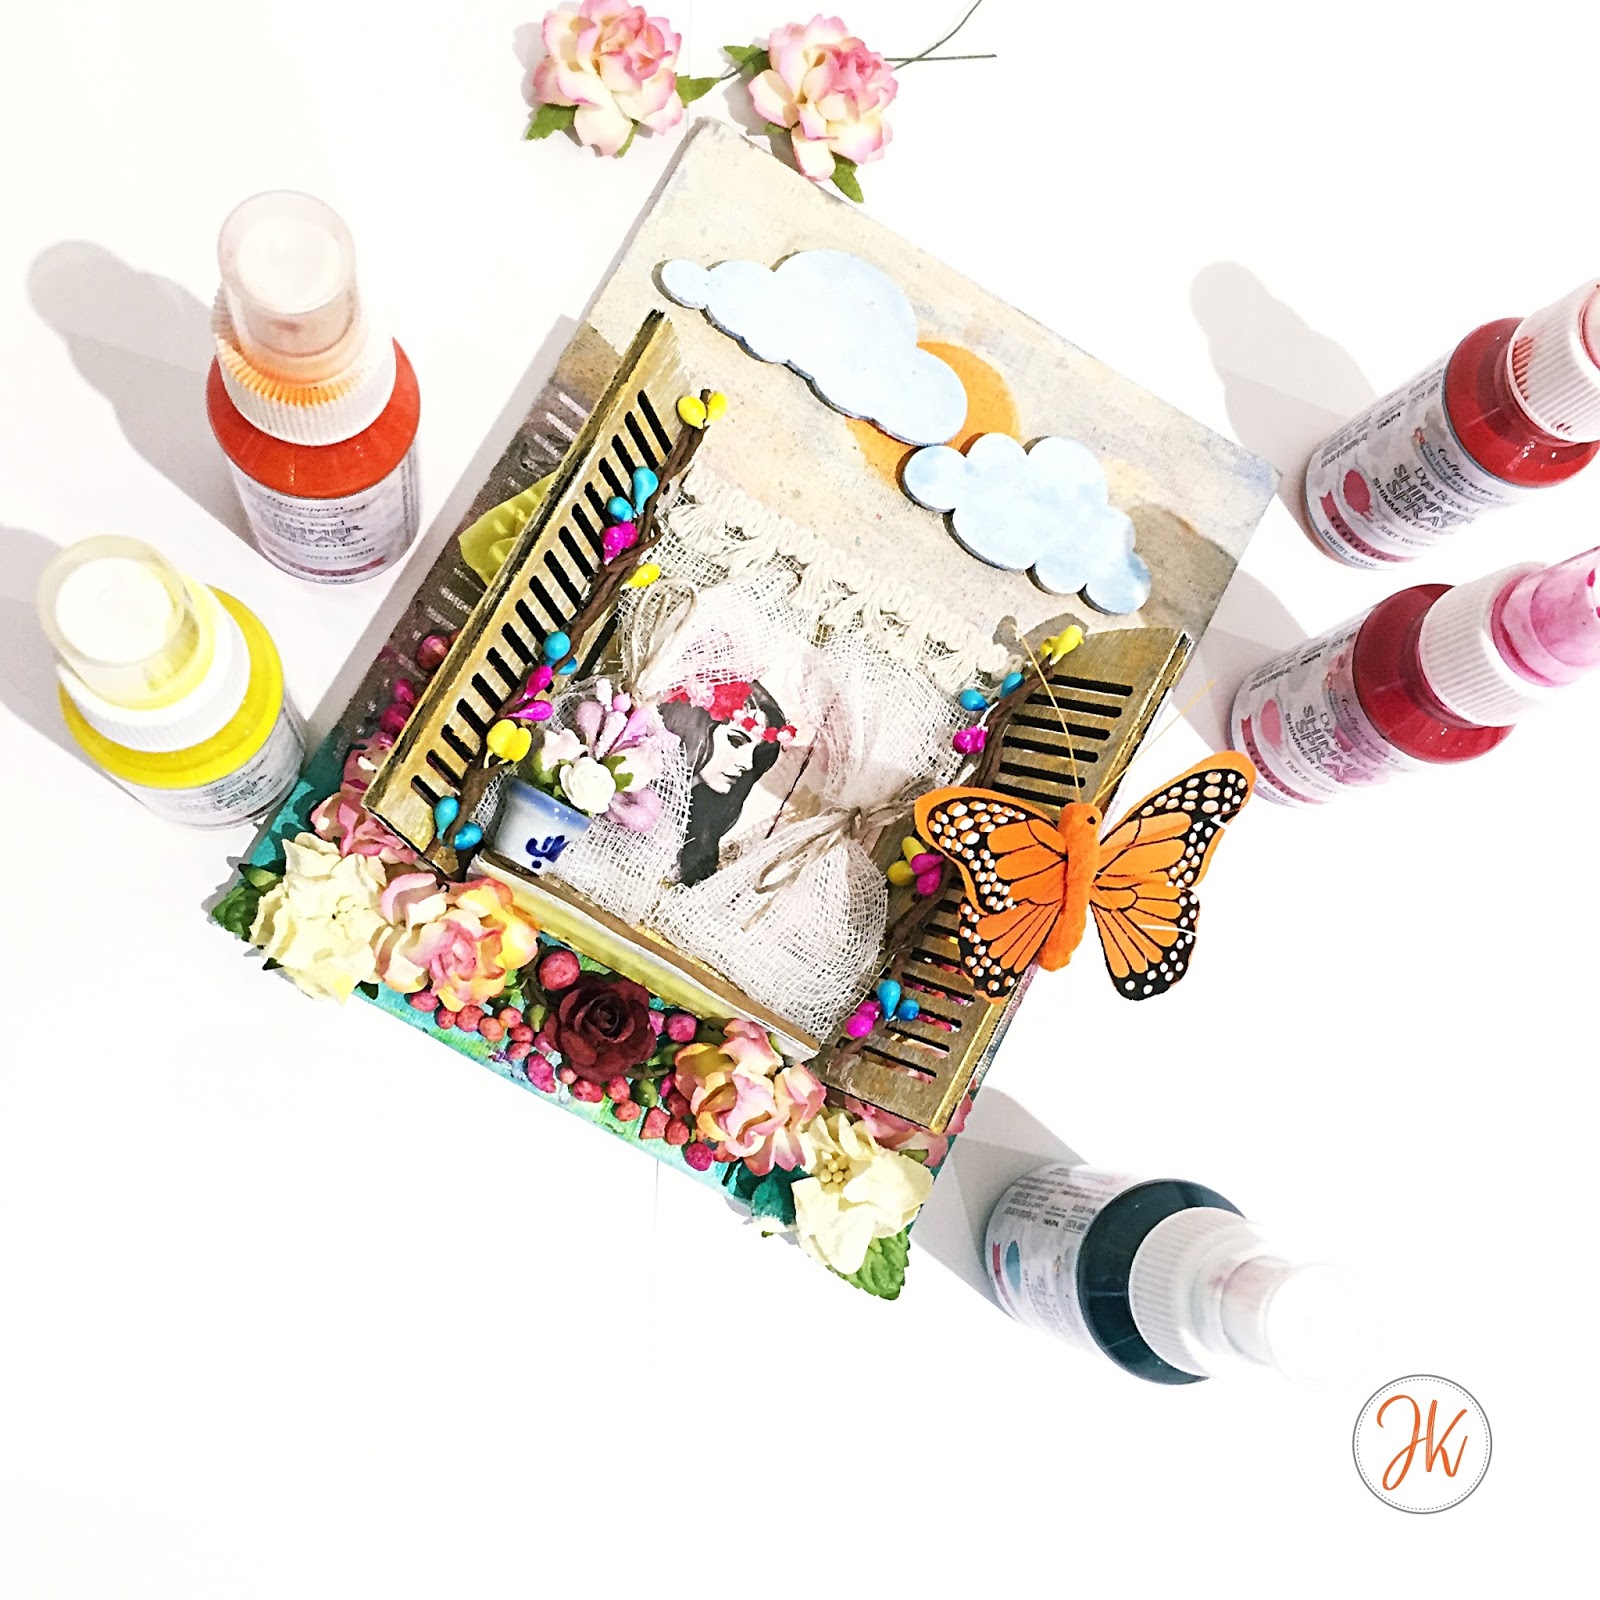
I am back with another mixed media project. I have created a mixed media canvas based on spring time with lots and lots of colors, hence the name 'festival of colors'. So let's get started!


  • I used a 8'x6' canvas for this project. 
  • I prepped it with white heavy gesso 
  • I then used 'Sweet Pumpkin and 'Sweet Sunshine' shimmer sprays from craftyscrappers to create a sunny sky. (find my review on shimmer sprays here)
  • I sprayed a bit of both the colors on my craft mat mixed them together and created the sun with a paint brush. 
  • I added a tint of blue to the sky as well. 
  • I used cloud chipboard cutouts, painted them blue and heat embossed them

  • Next I created a brick wall using a stencil and texture paste
  • I again used shimmer sprays in colors tickled cheeks and juicy water melon along with some black acrylic color to give the wall a rustic look
  • To make the grassy effect I used shimmer spray in the color dancing peacock 
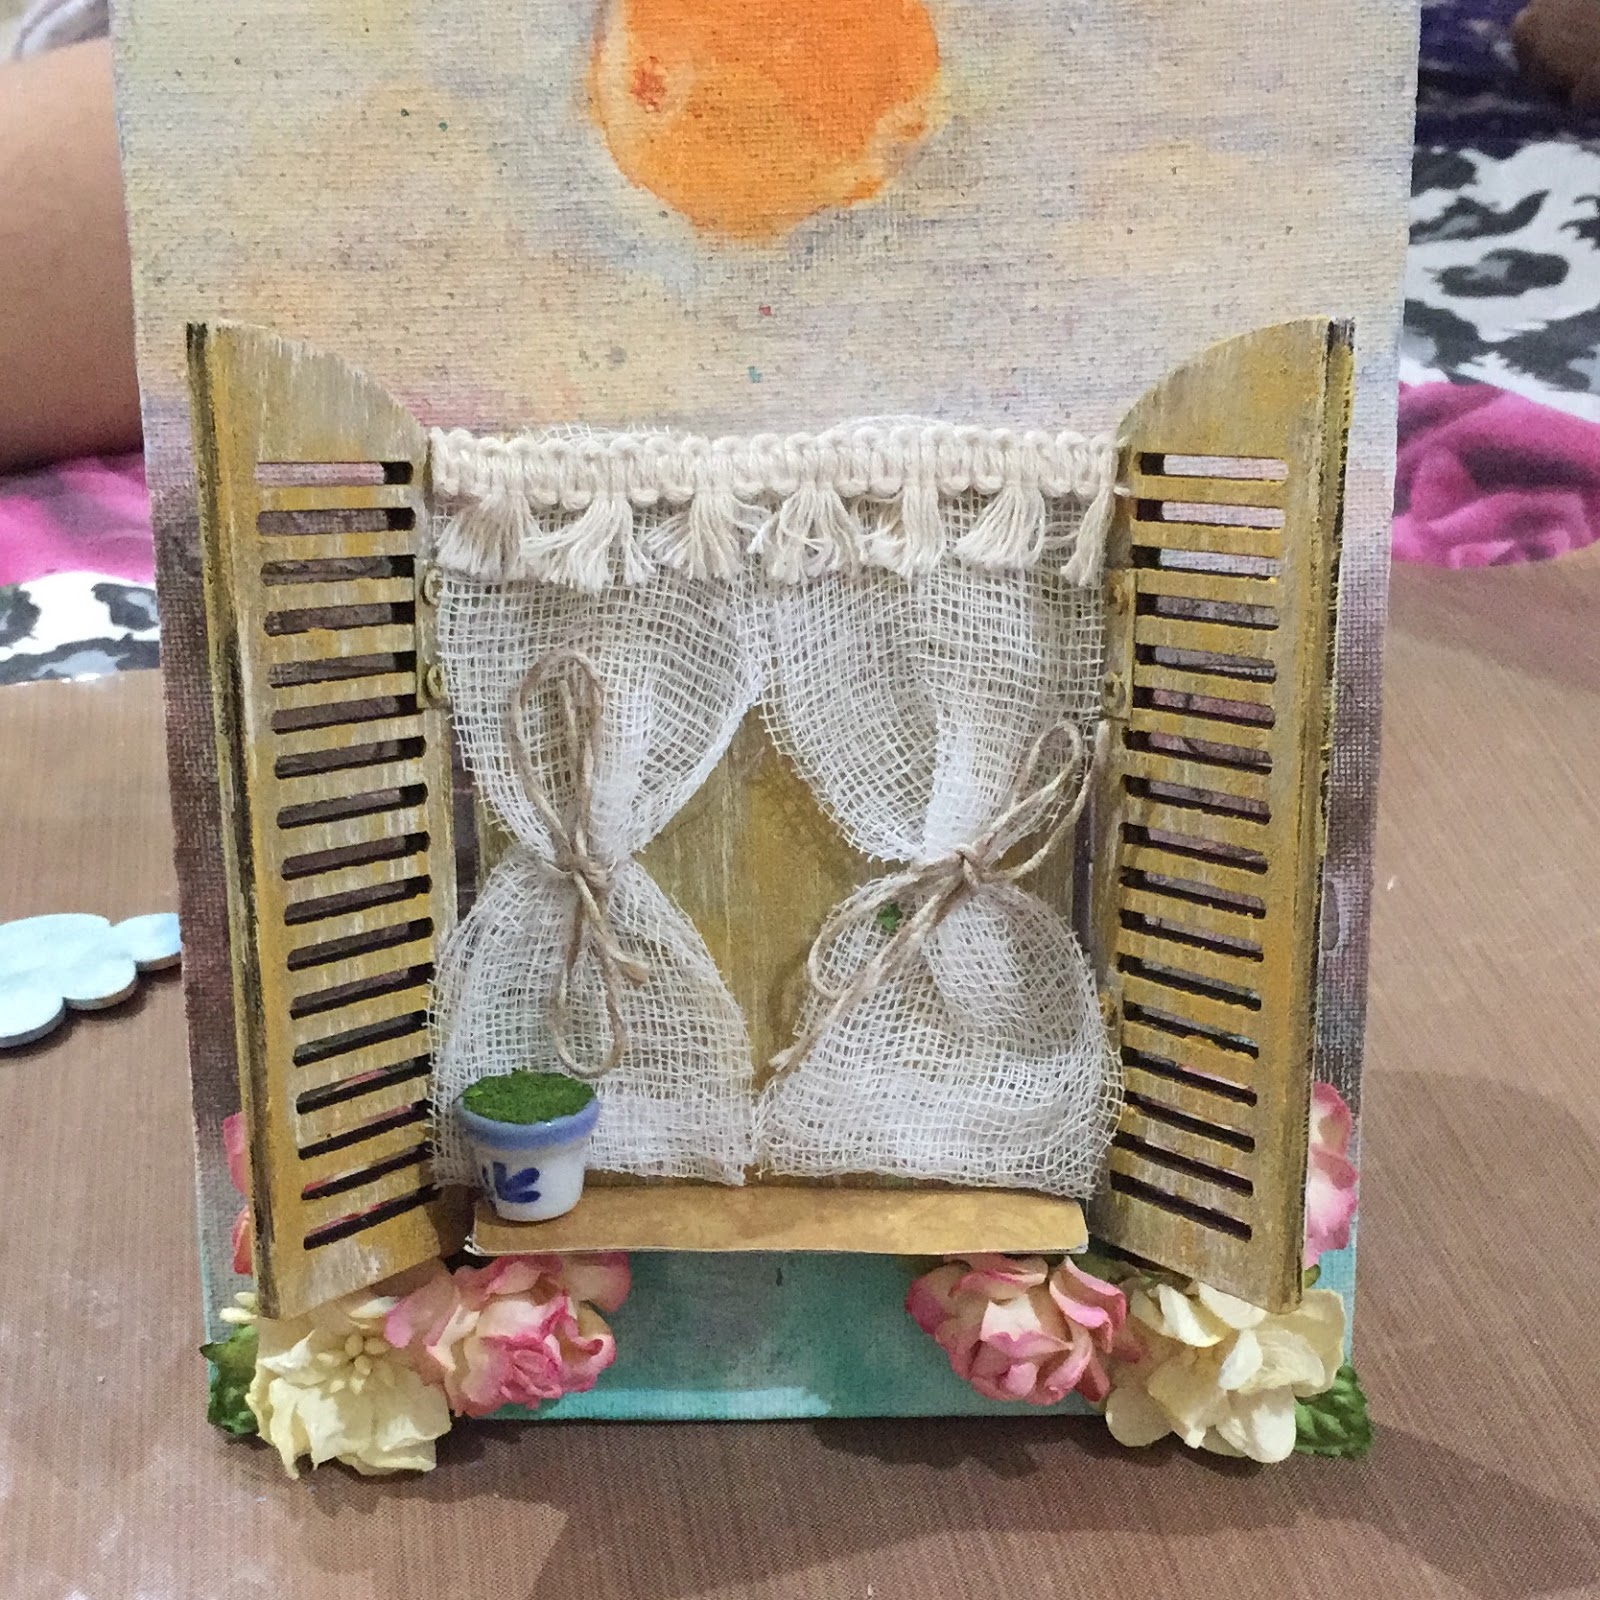
  • I used a golden acrylic color to give my window an aged rustic effect. 
  • To create the curtains I used bandage, a frilly lace trim and some brown twine. 
  • I added a small chipboard rectangle piece (with pattern paper) to add a 3D look to the project and add my miniature pot.

  •  I then assembled everything by adding lots of colorful flowers and pollen sticks
  • To add more dimensions I added some art stones. 
  • To color the art stones I used shimmer spray in the color tickled cheeks and sweet sunshine
  • Finally I completed the project by adding a beautiful butterfly and a lady behind the curtains
Here is the project at a glance - 


I hope you liked this project as much as I loved making it. 
Until Next Time

XOXO
JK