Saturday, December 15, 2018

Mixed Media Layout | Celebrating Life

Heya crafty people,

Are you all set for another inspirational project? Today I have for you a clean and simple mixed media layout. When we think of mixed media layout we generally end up making the layout full of textures and paints and embellishments. Today, I took the liberty of breaking that chain and creating something very simple. 

This project is created for this month's challenge inspiration post for Expressions Craft Studio as a DT member by me. This month's theme is Celebration and for me it meant celebrating my life!

My life has been my biggest teacher this year. I have seen the lowest low of my life and then fought back to be where I am today. So today, I take this opportunity via this inspiration post to celebrate my life and urge you to do so as well. Take out time for your own-self and celebrate it, celebrate yourself and your life! 


I used some chalk paints matching the image I chose and added them with my finger in a triangular shape. 
I then covered areas with washi tape. Next I used stencils and made numbers using archival ink and finger dauber. Finally i did some stamping here and there and added the beautiful roses along with sentiment stickers. 

Here are detailed images!


Hope you liked this inspirational project and will create your own. Also, don't forget to participate in the ongoing challenge at Expressions Craft here. 

Until next time,
XOXO

JK


Saturday, December 8, 2018

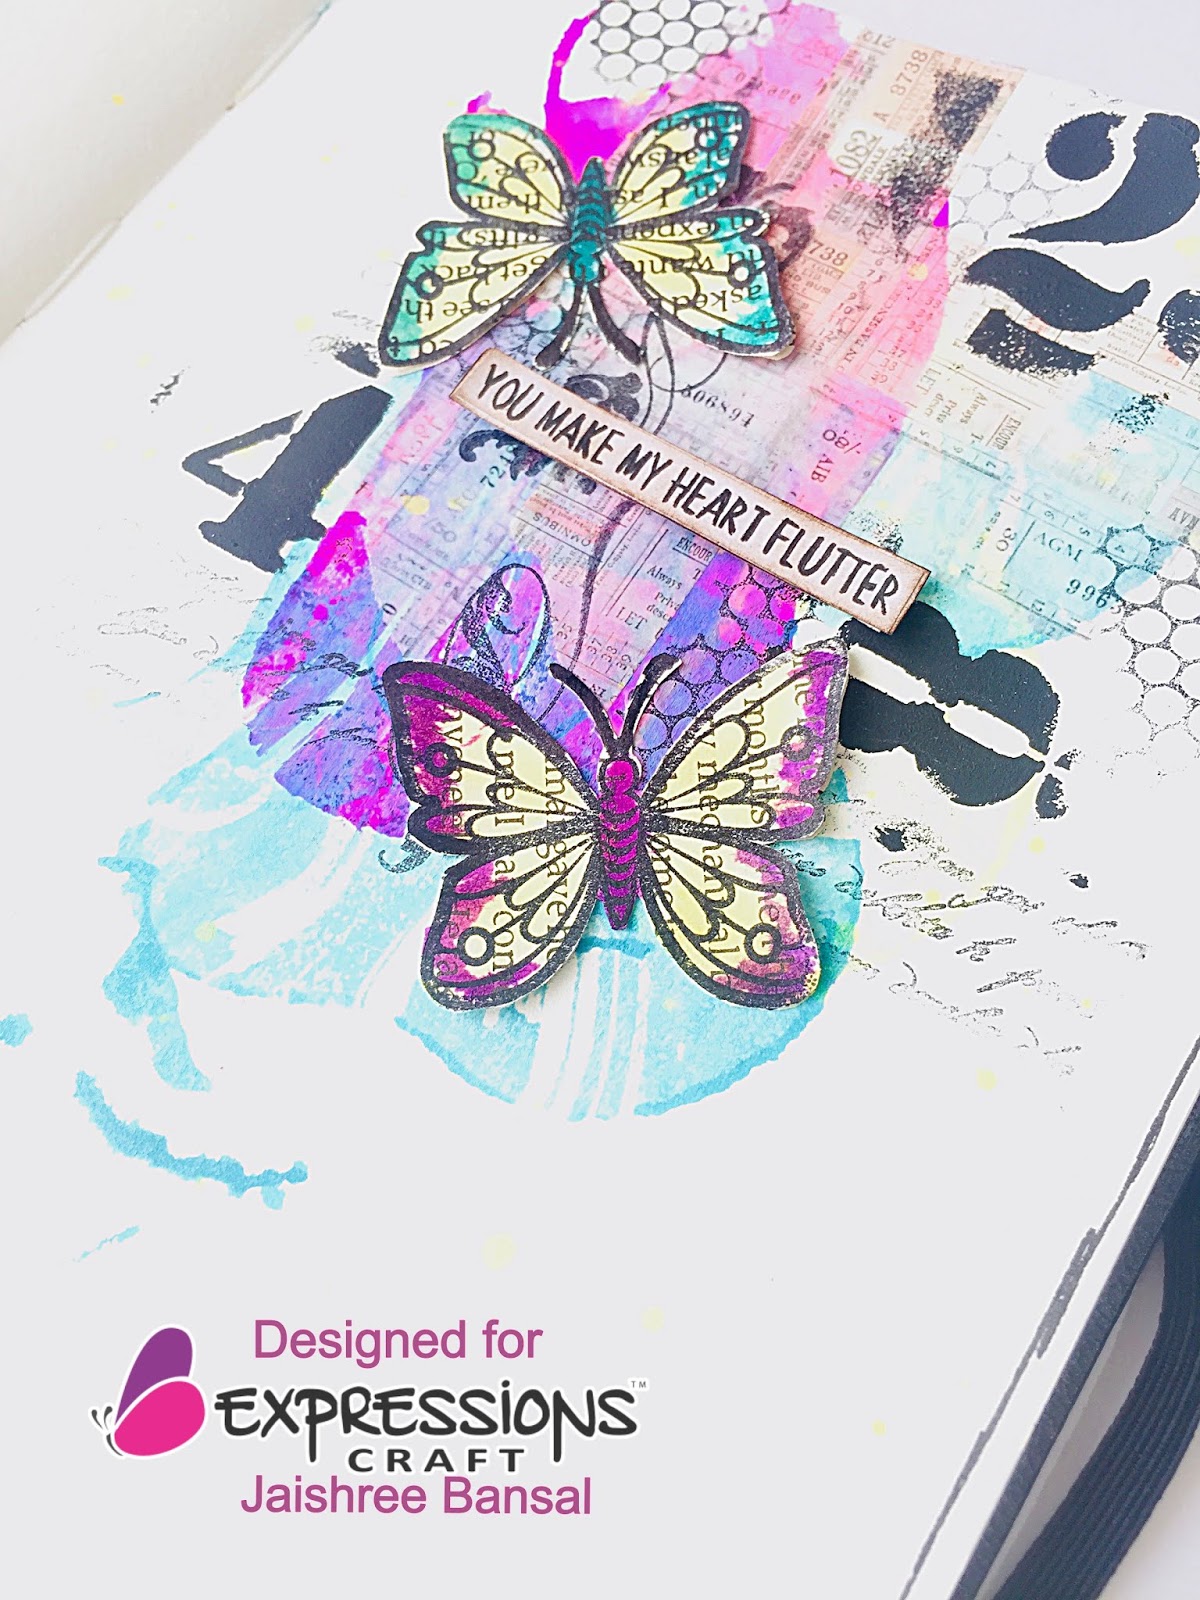
Art Journal - Love Beyond Words

Hola crafty peeps,

Up for another inspiring project to make your weekend more crafty? I have recently started my own art journaling. As a mixed media artist i feel that many ideas that we have go unimplemented and later forgotten. So to capture most of my ideas on regular basis, I started art journaling. 
In my opinion Art Journal is an artist's space where he/she can be themselves. Make what their heart desires without fear of making a mistake. Trying hands on a new technique I bring to you a page from my art journal. Ta-da! 


To create this art journal page I used the minimum supplies possible so that any beginner can make one too. So without further a due let's see how its done!

Step 1 - Prime the areas of the pages, where you have to work, with white/clear gesso. 

Step 2 - Take any string/cord long enough to make spirals and dip it into the spray paints of your choice. Take out the string and make circular spirals on the page. Put a waste paper on top and press a little hard and pull the string from below the waste paper. And voila! you have a beautiful string texture + color on your page. 
Repeat the process with as many colors you want, I used three. 


Step 3 - Use some washi tape and apply it here and there to add another flat layer and give your page a little texture. 


Step 4 - Take any stencil of your choice and add color with the help of a sponge and black gesso. I used the newly launched mini stencils from Expressions Craft. I think they are perfect to work with on projects with smaller areas. I used the number stencil here. 


Step 5 - Stamp and cut a couple of butterflies on an old book paper and color it using the spray paints used earlier. 


Step 6 - Add the butterflies on one side of the page along with a sentiment and on the other side of the page just add the sentiment. 

Step 7 - Lastly, using a background stamp, stamp here and there to add more texture and using a gel pen black, make a boundary with free hand. 


Here are some close up images!


Hope you liked this project and are inspired to make one of yours too. Do tag me in your projects inspired by this, I love to see your creations. 

Until Next Time,
XOXO

JK


Tuesday, November 27, 2018

Altered Mixed Media Frame

Hola crafty peeps, 

I am here with an altered frame with a twist. The twist is that I have used MDF window shutters to create a picture space on the frame itself. 


I have used the newly launched metallics form Expressions Craft Studio. The quality of these paints is just amazing. I loved the fluffy consistency of these colors and the sheen they have is brilliant. They work well on both black and white gesso without loosing the color and sheen. A total of 26 shades have been launched which you can buy from the website here.
I can go on and on about these beautiful colors but for now let's dig in to the project tutorial. 

Step 1 - I covered my window and the frame with IMMIX heavy white gesso.


Step 2 - Using IMMIX texture paste and the newly launched brick stencil add the design around the frame. 


Step 3 - Add some IMMIX crackle texture paste here and there and sprinkle some sprinkle glitz over it for some grungy texture. 


Step 4 - Adhere all the required chipboards and cover them with white gesso. Also adhere the window shutters in its place. 


Step 5 - I used the new launched chalk paint color red cherry wood and covered the brick area as far as possible. 


Step 6 - I highlighted the bricks pattern using the new chalk paint color Military brown


Step 7 - Using the newly launched metallics in the color jungle green I covered all the chipboard branches


Step 8 - Finally add all the flowers around the shutters along with deco art atones. I also in the end used metallic colors mari gold and bronze moon to highlight the window and brick wall texture. 


Here are some detailed pics - 


I hope you liked this mixed media project using the newly launched products from expressions craft. Do tag me in your projects inspired from this one. 


Until next time
XOXO
JK


Thursday, November 22, 2018

Altered Art Journal Cover


Hello crafters, 

I have a step by step tutorial on how to make a beautiful Art journal cover with the help of some mixed media supplies. You can alter any old diary cover with the help of this tutorial. So without further a due let’s get started.


Step 1 - Prime your surface! Since my cover was black and I needed a white background I used heavy white gesso. You may use clear or black gesso too.


Step 2 - Add a floral flourish design with the help of a stencil and texture paste. You can use any stencil you have for the design.


Step 3 - To add some grungy wall effect on the background, mix some sprinkle glitz to the texture paste. Apply it with the help of a palette knife. This adds a very grainy texture on my background


Step 4 - Prime the chipboard pieces with some heavy white gesso too while my texture paste was drying.


Step 5 -  Take a mini doily as a background layer for the focal point and color it yellow as per the chosen palette colors.


Step 6 - Using sprinkle mist spray paints, color brick chipboards


Step 7 - Heat emboss the focal point chipboards, for which I used black for my frame and spiced marmalade for buddha & flowers.


Step 8 - Once the texture paste dried completely go in with the paints and color the background. I used fuchsia to color the floral design, citrus yellow for the swirls and I created a dusty brown color by mixing burnt orange and persimmon for the wall.


Step 9 - Glue all the elements on the cover and stamp here and there to add more layer.


Here are some closer looks.


I hope you liked the project and would give it a try too. Also, don’t forget to join in the monthly challenge at Prika – ‘Anything Goesembossed’


Until next time
XOXO
JK